
How to Photograph Your Christmas Tree at Night
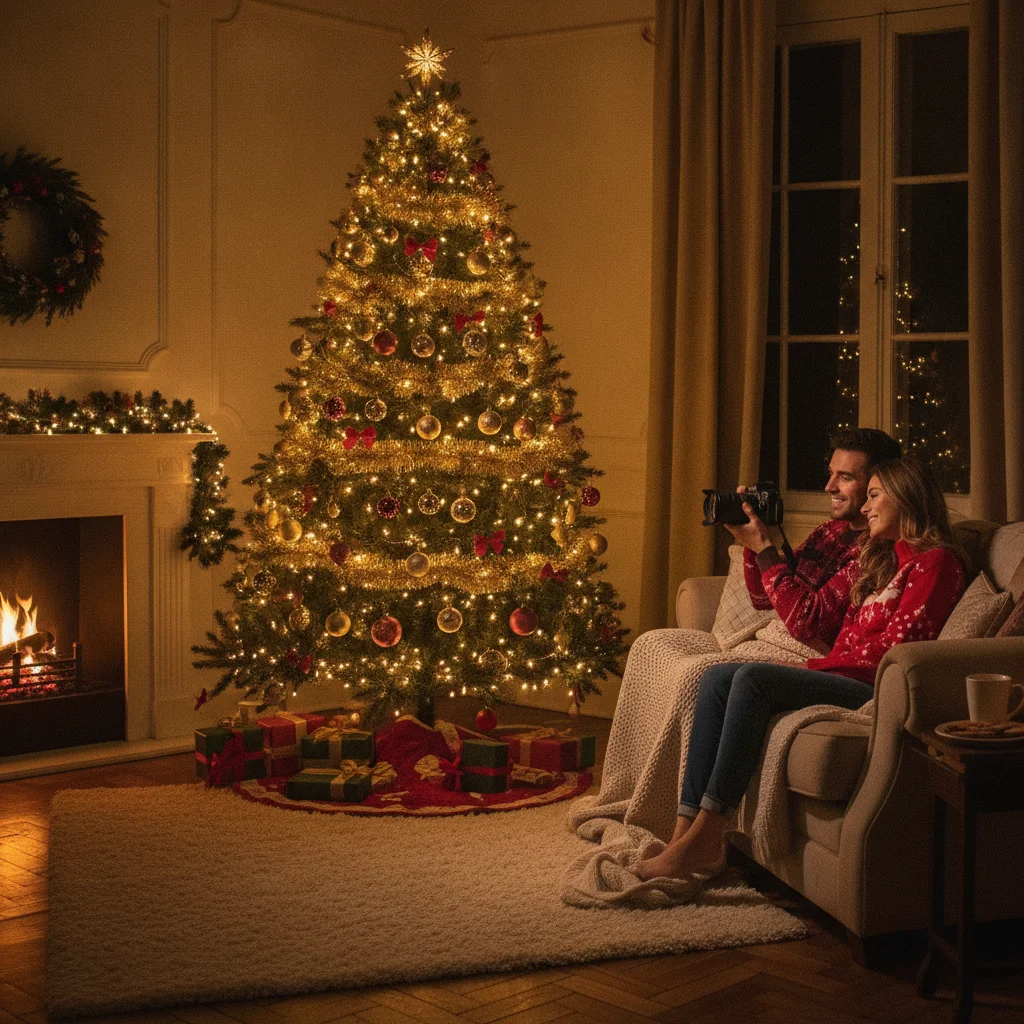
Quick answer: To photograph a Christmas tree at night, stabilize your phone or camera, turn off the flash, and keep a small amount of ambient room light on. Expose for the tree lights so they retain color and detail. Use Night mode on a phone or start with ISO 400, f/4, and a shutter speed near 1/15 second on a camera.
A Christmas tree can look warm and detailed to your eyes but become a dark silhouette or a patch of glowing white dots in a photograph. The difference comes from how a camera handles the large contrast between bright bulbs and a dim room.
The best results usually come from controlling that contrast rather than making the room completely dark. A stable camera, restrained exposure, and a little indirect room light will preserve the glow while showing ornaments, branches, and nearby decorations.
What should you do before taking the photograph?
Start by simplifying the scene. Remove visible cords, packaging, remote controls, and other distracting objects around the tree. Straighten the tree skirt and rotate prominent ornaments so they face the camera.
Turn off harsh ceiling lights, but leave one soft lamp on if the room becomes completely black. Position the lamp outside the frame and direct it toward a wall or ceiling. Reflected light can reveal the room without overpowering the Christmas lights.
Clean the phone lens or camera lens with a microfiber cloth. Fingerprints scatter light and create hazy streaks around individual bulbs, especially in a dark photograph.
Which settings work for Christmas tree photos at night?
The exact exposure depends on the brightness of the lights and the amount of ambient light. Use these settings as starting points, then adjust after reviewing a test photograph.
| Device or scene | Starting settings | Adjustment |
|---|---|---|
| Phone on a tripod | Night mode, flash off, 3-second timer | Reduce exposure if bulbs appear white |
| Handheld phone | Night mode, 1x lens, exposure slightly reduced | Brace the phone against a solid object |
| Camera on a tripod | ISO 400, f/4, 1/15 second | Use a slower shutter for a brighter room |
| Person beside the tree | ISO 800 to 1600, f/2.8 to f/4, 1/60 second | Add soft light to the person’s face |
Use the lowest practical ISO to limit grain. A tripod allows a slower shutter speed and lower ISO, but moving children and pets require a faster shutter speed. For motion, aim for at least 1/125 second and add soft room light if necessary.
How do you keep Christmas lights from looking blown out?
Meter for the lights rather than the dark room. On a phone, tap a bright section of the tree and drag the exposure control downward until the bulbs show distinct color. On a camera, use exposure compensation between minus one and minus two stops if the automatic exposure is too bright.
Check the highlights after each test shot. Individual bulbs should not merge into large white patches. A slightly dark photograph is often easier to correct than a photograph with lost highlight detail.
If the camera supports RAW files, record RAW and JPEG together. RAW files provide more flexibility for recovering shadows and correcting color, while the JPEG offers a ready-to-share version.
How can you prevent blurry nighttime tree photos?
Place the camera on a tripod, shelf, or stable table. Activate a two-second or three-second timer so pressing the shutter does not shake the device. Camera users can also use a remote release.
Turn off optical image stabilization when a camera is firmly mounted if the lens manufacturer recommends it. Stabilization behavior varies by lens, so consult the equipment instructions when uncertain.
For handheld phone photos, hold the phone with both hands, tuck your elbows against your body, and lean against a wall. Avoid digital zoom because it magnifies movement and reduces image quality. Move closer or use the standard 1x lens instead.
What white balance makes Christmas lights look natural?
Automatic white balance often works, but it can make warm white bulbs look pale or make the room overly orange. Camera users can try a white balance between 3000K and 4000K. Lower values create a cooler result, while higher values retain more golden warmth.
Phone users can correct warmth in the built-in photo editor. Make small adjustments while using white walls, silver ornaments, or other neutral objects as references. The goal is not perfectly neutral light, but believable ornament colors and pleasant skin tones.
Which composition makes a Christmas tree photograph stronger?
Photograph the tree from about the height of its middle section rather than pointing sharply upward. Keep the camera level to prevent walls and door frames from appearing tilted.
Try several compositions instead of relying on one full-tree image:
- Center the entire tree for a formal, symmetrical photograph.
- Place the tree to one side and include a fireplace, window, or chair for context.
- Move close to photograph a meaningful ornament with blurred lights behind it.
- Shoot through a doorway to create a natural frame around the scene.
- Lower the camera for a child’s or pet’s view of the tree.
To create round, blurred lights, use a wide aperture such as f/1.8 or f/2.8 and focus on a nearby ornament. Increase the distance between the ornament and the lights to make the background blur more noticeable.
How should you edit the final Christmas tree photo?
Raise shadows carefully to reveal branches and furniture, but avoid making the room look like daylight. Reduce highlights if the bulbs are too intense. Add only mild noise reduction because aggressive processing can erase pine needles and ornament details.
Crop distracting edges and straighten vertical lines. A subtle increase in contrast can define the tree, while a small reduction in overall saturation may help multicolored lights look less harsh.
A tripod, flash-free exposure, and a small amount of indirect room light provide the most reliable nighttime Christmas tree photograph. Protect the bulb highlights first, then brighten darker areas during editing if needed.
What limitations should you expect?
Older phones may produce visible noise or lose detail in deep shadows. Blinking lights can also appear uneven during long exposures because some bulbs may be off when the photograph is recorded.
People and pets can blur when the shutter stays open too long. Mixed lighting from lamps, televisions, and Christmas bulbs may create inconsistent colors. These problems are best managed by adding soft light, increasing shutter speed, and turning off unrelated light sources rather than relying entirely on editing.
How do you make a nighttime Christmas tree photo ready to print?
A tripod, low ISO, moderate aperture, and highlight-preserving exposure make a nighttime Christmas tree photo suitable for printing. Mount the camera securely, choose ISO 100–400, and start near f/5.6–f/8 so ornaments and several light strands remain defined. Adjust brightness with shutter speed; because the tree is stationary, a longer exposure is safer than raising ISO and adding grain. Meter from illuminated branches, then lower exposure until individual bulbs retain color instead of becoming white spots. If shadows close up, aim a dim lamp at a pale wall beside the camera to lift only the ornament side of the tree. Save the edited image at full dimensions in sRGB; a 5-by-7-inch card at 300 DPI uses 1500 × 2100 pixels (Vistaprint, 2026).
Daylight Cannot Create the Same Christmas Tree Glow as After Dark
A common myth is that turning on the Christmas tree lights makes a daytime room photograph look like a nighttime tree scene; in fact, noon light usually overwhelms the bulbs’ visible glow. Cameras expose for bright window light and the illuminated room, so individual bulbs appear weak, decorations look evenly lit, and the warm pools of light nearly disappear. After dark, the tree becomes the brightest subject and its lights create visible contrast against the room. For the intended nighttime effect, wait until exterior daylight no longer dominates, close curtains, and use only a small amount of indirect room light if the shadows become empty. Shooting at noon can work only if you block daylight thoroughly; at that point, you are recreating nighttime conditions rather than relying on the tree lights to defeat the sun.
Frequently asked questions
Should the room be completely dark for a Christmas tree photo?
A completely dark room often creates excessive contrast. One dim lamp reflected from a wall or ceiling helps reveal ornaments and surroundings.
Should I use flash when photographing a Christmas tree?
Direct flash usually removes the warm atmosphere and creates glare on ornaments. Turn it off unless you can diffuse or bounce the flash away from the tree.
What phone mode is best for Christmas tree lights?
Night mode with the flash disabled is usually best. Keep the phone stable and reduce exposure slightly to protect the bright bulbs.
Why do Christmas lights look blurry in photos?
Blur usually comes from camera movement, slow shutter speeds, or a dirty lens. Stabilize the device, use a timer, and clean the lens before shooting.
How do I photograph people in front of a Christmas tree?
Use a shutter speed of at least 1/60 second and add a soft light facing the people. Expose carefully so faces are visible without turning the tree bulbs white.
Can I create starbursts around Christmas lights?
A camera aperture around f/11 to f/16 can turn small bulbs into starbursts. Use a tripod because the smaller aperture requires a longer exposure.
Is portrait mode useful for Christmas tree photos?
Portrait mode works well for ornaments, people, and pets with tree lights in the background. Check the edges of hair, branches, and decorations for artificial blur errors.
Why does my nighttime Christmas tree photo look darker when printed?
A nighttime Christmas tree photo often prints darker because a glowing screen makes shadow detail appear more visible than it will on paper. Review the image with screen brightness reduced, then raise midtones selectively while leaving bulb highlights unchanged. Check that dark branches still separate from the background rather than lifting the entire exposure.
Where should I focus when photographing a Christmas tree at night?
Focus on an ornament or branch about one-third of the way into the tree, not on the nearest bulb. With the camera supported and an aperture around f/5.6 to f/8, this gives more decorations usable sharpness. Magnify the preview to confirm focus before making the long exposure.
Can I photograph a glowing Christmas tree during the day?
Yes, if you prevent daylight from overpowering the tree lights. Close opaque curtains, turn off strong room lights, and check for bright window reflections on ornaments. If the room cannot be darkened sufficiently, expose for the bulbs and accept that the surrounding tree may appear darker.