
How to Photograph Christmas Flat Lay Scenes
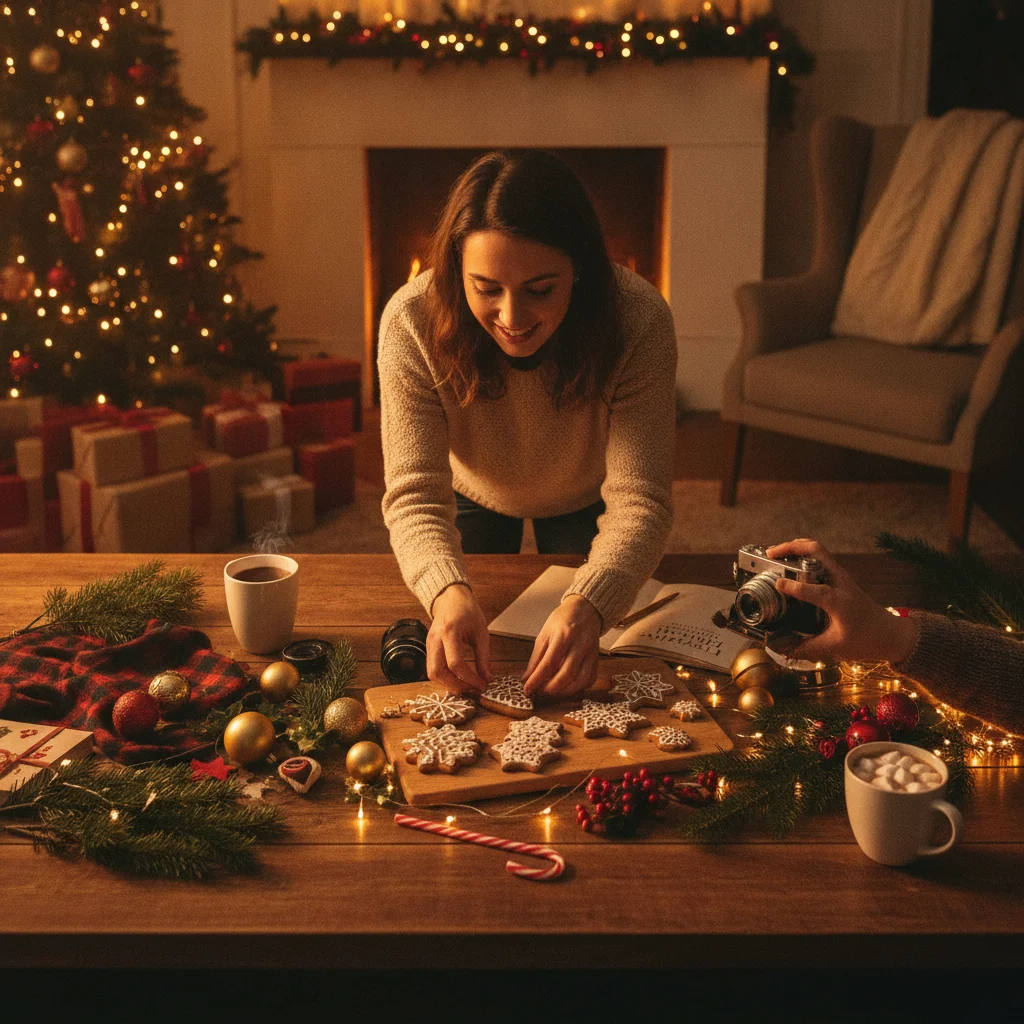
Quick answer: To photograph a Christmas flat lay, arrange seasonal objects on a simple background, place the camera directly above the scene, and use soft window light from one side. Build the composition around one main subject, leave space between objects, and keep the camera parallel to the surface. Finish with restrained edits to exposure, color, and white balance.
A Christmas flat lay is a photograph of seasonal objects arranged on a flat surface and photographed from directly above. Gift tags, ornaments, greenery, cookies, ribbons, cards, and warm drinks can all work as subjects.
The strongest images use a clear focal point, consistent colors, soft light, and enough empty space to prevent the arrangement from feeling crowded. You can create an effective flat lay with a phone or camera and materials already available at home.
What do you need to create a Christmas flat lay?
Start with a flat background large enough to cover the entire frame. White foam board, wood, kraft paper, linen, wrapping paper, or a plain tabletop can provide a clean base. Matte surfaces are usually easier to photograph because they produce fewer reflections.
Select one main subject and several supporting objects. A card, wrapped gift, plate of cookies, or holiday drink can act as the focal point. Smaller decorations should support that subject rather than compete with it.
| Item | Purpose |
|---|---|
| Foam board or fabric | Creates a simple background |
| Window or diffused lamp | Provides soft directional light |
| Phone or camera | Captures the overhead image |
| Tripod or stable support | Keeps the camera parallel and steady |
| White card | Reflects light into dark shadows |
How should you arrange the Christmas objects?
Place the focal subject first, then add supporting items one at a time. Use odd-numbered groups of three or five when arranging ornaments, cookies, or pinecones. Small overlaps can connect the objects, but every item should remain recognizable.
Consider a grid, diagonal, circle, or loose C-shaped arrangement. Diagonal layouts create movement, while centered arrangements feel formal and balanced. A scene intended for a greeting card may need clear space for text, so keep one side or the center relatively open.
Repeat colors and materials across the frame. For example, red ribbon can appear near the top and bottom, while small pieces of greenery can connect opposite corners. Limit the palette to two or three main colors for a controlled look.
Check the edges before taking the photograph. Objects that are partly cropped should look intentionally cropped. Moving an ornament a few centimeters can make the difference between a deliberate composition and an accidental cutoff.
What lighting works best for an overhead holiday photo?
Soft window light is usually the simplest option. Set the arrangement beside a window rather than directly in front of it, allowing light to travel across the scene from one side. Side lighting reveals the texture of paper, greenery, cookies, and ribbon.
Turn off ceiling lights because mixed light sources can create uneven color. If the shadows are too dark, place white foam board or card opposite the window to reflect light back onto the objects.
A thin white curtain can soften direct sunlight. When using an artificial lamp, diffuse the light with a suitable photography diffuser and keep heat-producing bulbs away from paper, greenery, and fabric.
Which camera settings should you use?
Keep the camera sensor parallel to the background. A phone grid or camera level helps prevent slanted lines and distorted objects. Secure the device with an overhead tripod, horizontal arm, or stable mount whenever possible. Avoid balancing equipment where it could fall.
On a camera, try an aperture between f/4 and f/8 so most objects remain sharp. Use the lowest practical ISO and adjust shutter speed to match the available light. A tripod allows a slower shutter speed without introducing hand movement.
On a phone, tap the main subject to set focus and lower the exposure slightly if white paper or reflective ornaments appear too bright. Use the standard lens instead of an ultra-wide lens, which can stretch objects near the edges.
How do you photograph the scene step by step?
- Choose a background and place it near soft side light.
- Select a focal subject and a limited Christmas color palette.
- Add supporting props while preserving gaps between objects.
- Mount the phone or camera directly above the arrangement.
- Check that the camera is level and parallel to the surface.
- Set focus on the focal subject and review the brightest areas.
- Take several frames, changing one object at a time.
- Review the corners, edges, shadows, and empty space before clearing the setup.
Photograph both horizontal and vertical versions if the final use is uncertain. A square variation is also useful for social posts and profile-based layouts.
How should you edit a Christmas flat lay?
Begin by correcting exposure and white balance. White backgrounds should look neutral rather than blue, gray, or yellow, while greenery and red decorations should retain natural detail.
Crop and straighten the image before adjusting color. Use modest contrast, shadow, and saturation changes. Heavy filters can remove texture from frosting, paper, fabric, and evergreen branches.
Remove temporary dust or crumbs only when they distract from the main subject. Leaving some natural texture often makes a handmade holiday scene feel more believable.
What limitations should you expect?
Reflective ornaments can show the camera, window, or photographer. Change their angle, move the light, or replace them with matte decorations if reflections cannot be controlled.
Tall objects may appear sharp at the top but soft near the background. Use a smaller aperture, reduce height differences, or position the camera farther away and crop afterward.
Natural greenery, drinks, and food can change during a long session. Build the arrangement with durable props first, then add melting, drying, or perishable items immediately before shooting.
A successful Christmas flat lay depends more on careful arrangement and soft light than expensive equipment. Keep the camera level, choose one clear subject, and simplify the frame whenever the scene feels crowded.
The lighting and camera settings that make a Christmas flat lay print-ready
For a print-ready Christmas flat lay, use diffused window light with a low ISO and an aperture around f/5.6 to f/8. Mount the camera directly above the arrangement, keep the sensor parallel to the background, and use a tripod or stable overhead support. Select the camera’s lowest native ISO to preserve fine details in greenery, ribbon, and handwritten elements. If the slower shutter speed causes movement, use a two-second timer or remote release rather than raising ISO. Focus on an object near the center of the arrangement, then check the corners at full magnification. Capture at the camera’s highest resolution and avoid cropping until the final card ratio is known. A 5-by-7-inch image at 300 DPI requires 1500 by 2100 pixels (Vistaprint, 2026).
Why can a Christmas flat lay fail at noon but work after dark?
A Christmas flat lay can fail at noon because direct sun creates hard object shadows and reflective glare, while photographing after dark lets you control the direction and softness of every light. This timing advice does not apply when noon light is already diffused by clouds, curtains, or a shaded window. Waiting until dark may also be impractical for a workplace display that must be photographed during business hours or a last-minute card that needs immediate printing. Do not delay merely to perfect the lighting when the arrangement includes time-sensitive memorial items or religious objects needed for an observance. If a pet appears beside the flat lay, use the calmest available time rather than forcing an evening session that causes stress. In those cases, soften the existing light with a sheer curtain and white card instead of changing the schedule.
Frequently asked questions
Can you take a Christmas flat lay with a phone?
A phone can produce a sharp Christmas flat lay when it is held parallel to the surface and used in soft light. The standard lens usually creates less edge distortion than an ultra-wide lens.
What is the best background for a Christmas flat lay?
White foam board, light wood, kraft paper, linen, and simple wrapping paper are practical backgrounds. A matte surface reduces distracting reflections.
How do you avoid shadows in flat lay photography?
Use diffused side light and place white card opposite the light source to soften dark shadows. Avoid direct flash and mixed ceiling light.
How high should the camera be above a flat lay?
The camera should be high enough to include the full arrangement without using an ultra-wide lens. The exact distance depends on the scene size and lens angle.
How do you keep an overhead photo straight?
Turn on the camera grid or level and align it with the edges of the background. A stable overhead mount helps keep the camera parallel to the surface.
Which Christmas props work well in a flat lay?
Cards, ornaments, ribbon, greenery, gift tags, cookies, candy canes, pinecones, and wrapped gifts photograph well. Props should share a consistent color palette or theme.
Should every object be fully visible in a flat lay?
Objects can extend beyond the frame when the crop looks intentional. Avoid cutting through small details in a way that appears accidental.
What aperture is best for Christmas flat lay photography?
An aperture between f/5.6 and f/8 usually keeps a shallow Christmas flat lay sharp from the center to the edges. If ornaments or stacked objects create more depth, try f/8 to f/11 and compensate with a slower shutter speed while the camera remains securely mounted overhead.
Why does my Christmas flat lay look blurry when printed?
A Christmas flat lay may print blurry because the file was cropped too heavily, captured at low resolution, or softened by camera movement. Inspect the original image at full size, confirm that fine details are sharp, and export at the final card dimensions without enlarging a small file beyond its available pixels.
Is noon too bright for a Christmas flat lay?
Noon is too bright only when direct sunlight reaches the arrangement and produces harsh shadows, glare, or uneven exposure. A shaded window, overcast sky, or sheer curtain can make midday light suitably soft. Rotate the setup so the light crosses it from the side rather than striking reflective ornaments head-on.