
How to Take Better Christmas Photos With a Phone
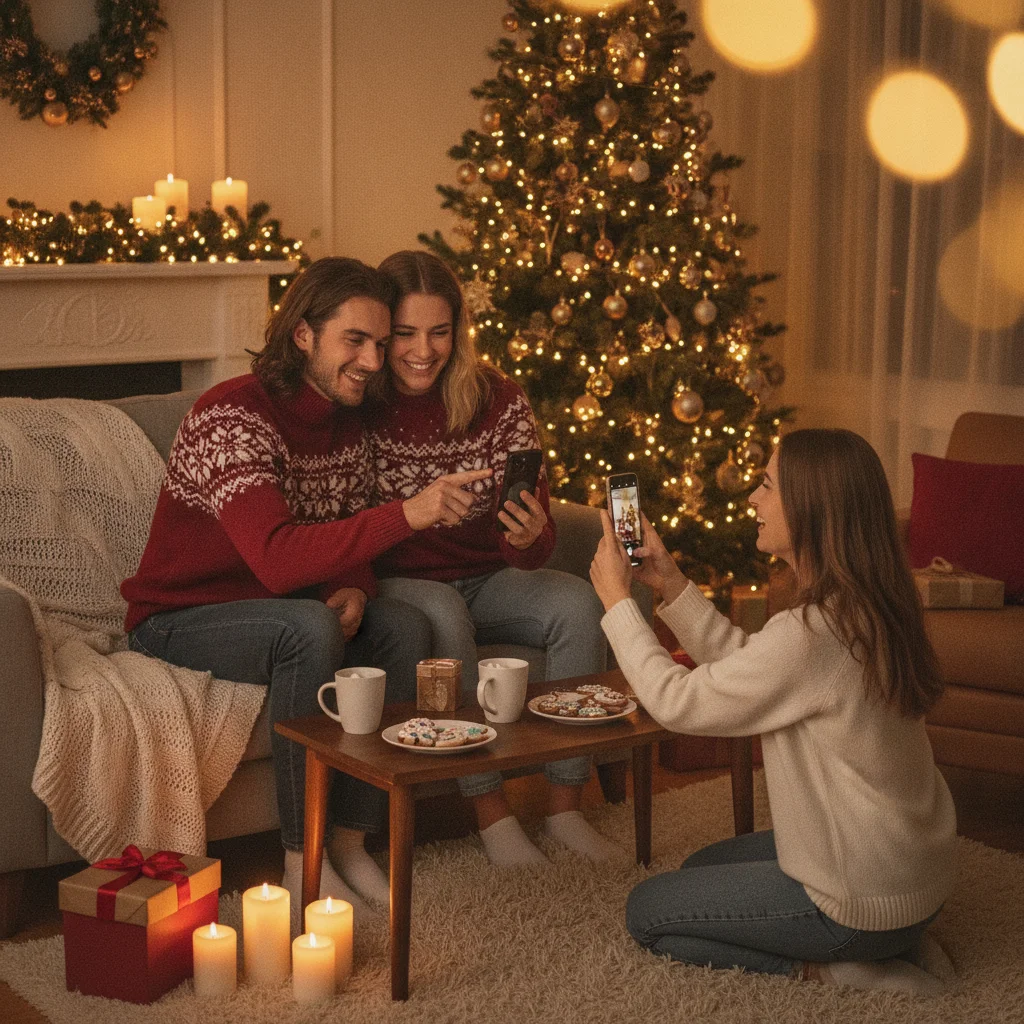
Quick answer: Use soft window light or steady indoor lighting, clean the phone lens, tap the main subject to focus, and lower exposure slightly near Christmas lights. Hold the phone with both hands, avoid digital zoom, and take several versions of each shot. Portrait mode works well for people, while standard photo mode is often better for decorated trees and groups.
A phone can produce sharp, warm Christmas photos without extra camera equipment. The main challenges are low indoor light, bright decorations, moving children, and mixed colors from lamps and string lights. A few adjustments to lighting, exposure, positioning, and timing can improve the results before any editing is needed.
How should you prepare your phone before taking Christmas photos?
Clean the camera lens with a soft microfiber cloth before taking pictures. Fingerprints create hazy highlights around candles, tree lights, and reflective ornaments, even when the lens looks clean at first glance.
Check that the phone has enough storage and battery power. Open the camera app in advance, choose the standard photo format, and turn on the composition grid if the phone provides one.
- Use the main rear camera for the best image quality.
- Turn off digital filters while taking the photo.
- Keep flash disabled unless the room is extremely dark.
- Use the volume button as a shutter control when convenient.
- Take a short test shot to check exposure and background clutter.
Which phone camera mode works best for each Christmas photo?
No single camera mode suits every holiday scene. Standard photo mode is dependable for most subjects, while portrait and night modes solve more specific problems.
| Subject | Recommended mode | Reason |
|---|---|---|
| One or two people | Portrait mode | Separates faces from the background |
| Large family group | Standard photo mode | Keeps more faces in focus |
| Christmas tree | Standard or night mode | Preserves decorations and low-light detail |
| Children opening gifts | Standard or burst mode | Captures quick expressions and movement |
| Food and ornaments | Standard or close-up mode | Retains texture and small details |
How can you find better lighting indoors?
Place people near a window during daylight and turn their faces toward the incoming light. Indirect window light is usually softer than ceiling lights and produces more natural skin tones.
At night, use a lamp positioned slightly in front of the subject rather than directly overhead. A lamp behind the phone can brighten faces without creating deep shadows under the eyes. Avoid mixing too many light sources because daylight, warm bulbs, and colored decorations can produce uneven skin colors.
Phone flash often creates flat faces, harsh shadows, and distracting reflections. If flash is necessary, increase the distance between the subject and the wall to reduce hard background shadows.
How do you photograph people without blur?
Ask subjects to hold still briefly, especially in dim rooms. Tap a face on the screen to set focus, then adjust exposure before pressing the shutter. On many phones, sliding a finger down after tapping reduces brightness and protects highlights around Christmas lights.
Hold the phone with both hands and keep your elbows close to your body. Leaning against a doorway, table, or wall provides extra stability. For group photos, prop the phone on a firm surface and use a three-second or ten-second timer.
Children rarely stay still for posed pictures. Use burst mode, Live Photos, or motion-photo features to capture several frames, then select the sharpest expression afterward.
How can you photograph a Christmas tree and its lights?
Turn off strong ceiling lights and leave one soft lamp on if the room becomes too dark. Tap the tree on the screen, then lower exposure until individual bulbs show color instead of appearing as white patches.
Keep the phone steady because the camera may use a slower shutter speed. A small tripod is helpful, but a shelf, stack of books, or stable table can also support the phone. Avoid digital zoom because cropping into the image reduces detail and can emphasize low-light noise.
How should you compose Christmas phone photos?
Check every edge of the screen before taking the picture. Remove shopping bags, cables, empty cups, and other objects that compete with the subject. Moving one step sideways may hide clutter without requiring the room to be rearranged.
Use the grid to place faces or important decorations near the intersecting lines. Include some surroundings for context, but move closer when expressions are the main subject. Take both vertical and horizontal versions so the photos can work in cards, albums, messages, and social posts.
How much editing should you apply afterward?
Begin by straightening the image and cropping distracting edges. Make small adjustments to exposure, shadows, warmth, and contrast. Reducing highlights can restore detail in string lights, while a slight shadow increase can reveal faces near the tree.
Avoid heavy sharpening, skin smoothing, and strong color filters. These edits can make faces look artificial and turn red decorations into solid blocks of color. Save a copy of the original before making major changes.
The most reliable method is to use the main camera, find soft light, lower exposure around decorations, and take several steady shots. Good timing and a clean background usually matter more than advanced camera controls.
What are the limitations of taking Christmas photos with a phone?
Phone cameras have small sensors, so very dark rooms can produce blur, grain, or smeared details. Night mode improves static scenes but may struggle with children, pets, or anyone moving during the exposure.
Portrait mode can misread hair, glasses, ornaments, and overlapping people. Digital zoom also reduces quality quickly. When those problems appear, use standard photo mode, move closer physically, add a soft light, or accept some natural grain rather than applying aggressive editing.
Which Lighting and Camera Settings Make Christmas Phone Photos Print-Ready?
For print-ready Christmas phone photos, use the rear camera’s standard 1x lens in bright, soft window light and keep the original full-resolution file. This combination limits motion blur, noise, and aggressive digital processing that become obvious on a printed card. Place people facing or slightly angled toward the window, turn off digital zoom, and tap a face to lock focus and exposure. If faces look too bright, lower exposure slightly rather than fixing highlights later. Use night mode only for a still tree or room; moving people can produce smeared details. Before ordering, crop to the card’s aspect ratio and inspect eyes, hair, and light edges at full size. A 5-by-7 print at 300 DPI requires 1500 by 2100 pixels (Vistaprint, 2026).
Uneven exposure is the main reason phone Christmas photos fail at noon and after dark
The most common failure is uneven exposure that leaves important parts of the Christmas photo without usable detail. At noon, direct overhead sun can produce pale facial highlights, dark eye sockets, and sharp shadows. After dark, the opposite balance often appears: Christmas bulbs become featureless white dots while faces look dim, noisy, or artificially brightened. Before sending the card, inspect the final crop at full size and zoom in on every face. Look for blank white patches on skin, eyes hidden in shadow, or colored lights that have lost their color. If those details are missing, editing usually cannot restore them. At noon, move the group into open shade. After dark, place people near a steady light source and slightly reduce exposure to preserve the decorations.
Frequently asked questions
What is the best phone setting for Christmas photos?
Standard photo mode is best for most scenes. Portrait mode suits one or two people, while night mode works best for a still tree or decorated room.
Should I use flash for indoor Christmas photos?
Flash is usually less flattering than window light or a nearby lamp. It is most useful when the room is too dark to produce a sharp image by any other method.
How do I stop Christmas lights from looking too bright?
Tap the decorated area to focus and reduce exposure using the on-screen brightness control. Lower exposure preserves the color and shape of individual bulbs.
Why are my Christmas photos blurry?
Blur usually comes from subject movement, camera shake, or a slow exposure in dim light. Add light, steady the phone, and take multiple frames.
Is portrait mode good for family Christmas photos?
Portrait mode works well for one or two people but may blur faces in different rows. Standard photo mode is safer for larger groups.
How can I take a Christmas group photo with everyone included?
Place the phone on a tripod or stable surface and use the timer. Leave extra space around the group so nobody is cut off during cropping.
Should Christmas photos be vertical or horizontal?
Vertical photos suit individual portraits and many card layouts, while horizontal photos fit groups and room scenes. Taking both versions provides the most flexibility.
How do I know if a phone photo is sharp enough for a Christmas card?
Inspect the original image at full size, especially the eyes and hair, to judge whether it is sharp enough. A preview can hide slight motion blur or missed focus. If facial details look smeared, retake the photo in brighter window light, steady the phone, and ask everyone to hold still.
Should I use the main camera or selfie camera for Christmas card photos?
Use the main rear camera when possible because it generally gives you a cleaner file and more flexible framing. Set the phone on a stable surface, use a timer, and stand within the composition. The selfie camera is practical for close, casual shots, but check faces carefully at full size before choosing the image.
Why do outdoor Christmas photos look harsh at noon?
Midday sunlight comes from above and creates strong contrast across faces. Eye sockets can appear dark while foreheads, cheeks, or snow lose detail. Move everyone into open shade beside a building or tree, keeping the group near the shade’s edge so faces remain evenly lit.