
Baby in Ornament Box Photo Prop Setup
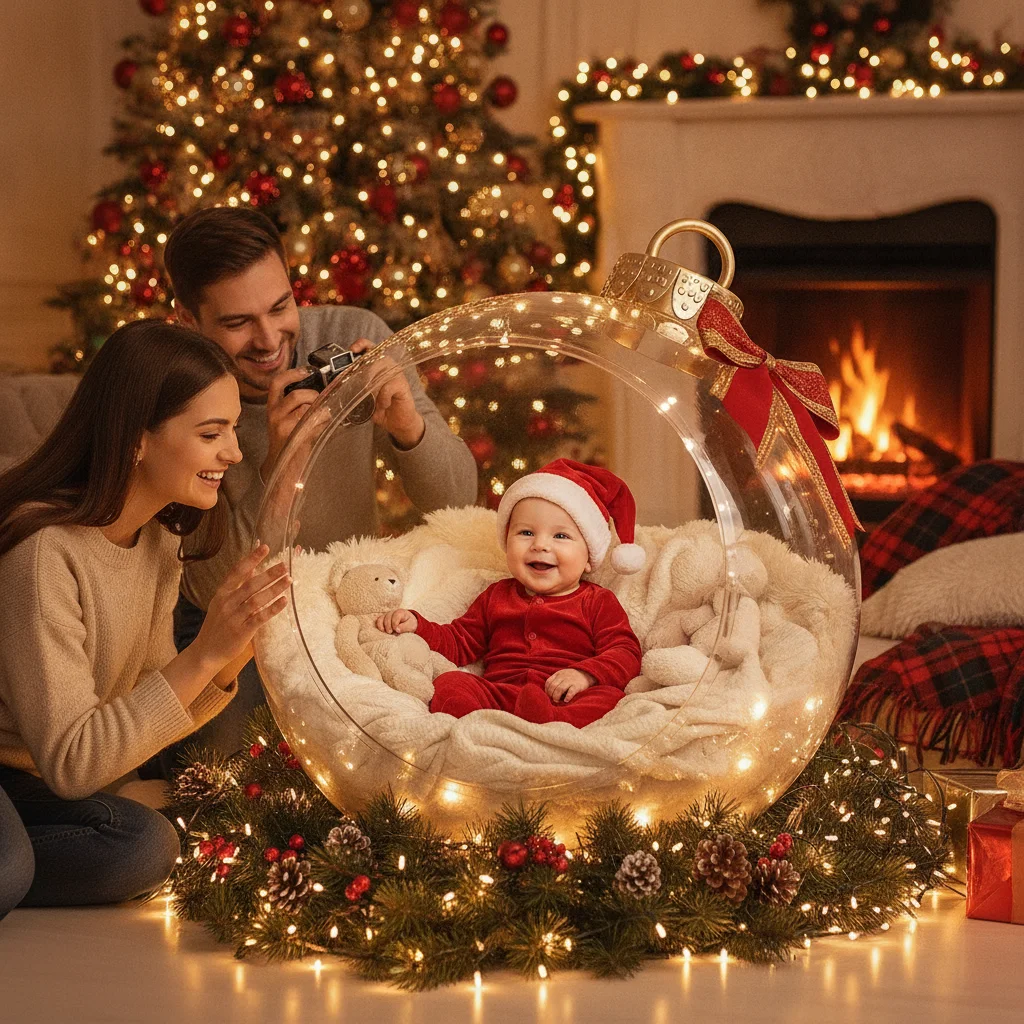
Quick answer: A baby in ornament box photo prop uses a large, shallow cardboard box with dividers to resemble retail ornament packaging. Place the setup flat on the floor, use only oversized shatterproof decorations, and photograph an awake baby who can sit independently. Keep an adult within arm’s reach and remove ribbons, glass ornaments, exposed lights, staples, and small accessories.
A baby in ornament box photo prop creates the look of a child sitting inside an oversized package of Christmas ornaments. The setup can be made from a large cardboard box, removable dividers, wrapping paper, and lightweight decorations. The best results come from keeping the box shallow, choosing a simple color palette, and treating infant safety as more important than copying a particular pose.
What do you need to make an ornament box photo prop?
Start with a clean, rigid cardboard box that is wide enough for the baby and decorations without creating a cramped space. A shallow appliance box or a custom foam-board frame can work. The prop should rest flat on the floor rather than on a table, chair, or raised platform.
| Item | Purpose | Safer choice |
|---|---|---|
| Large box | Creates the package frame | Clean, shallow cardboard with smooth edges |
| Dividers | Forms ornament compartments | Foam board or doubled cardboard |
| Decorations | Adds color and scale | Oversized plastic or fabric ornaments |
| Background | Hides the room | Plain paper roll, sheet, or uncluttered wall |
| Padding | Makes the floor comfortable | Firm folded blanket hidden below the set |
Avoid glass ornaments, loose glitter, bells, beads, ornament hooks, tinsel, and decorations with removable caps. Battery packs, electrical cords, and string lights should remain outside the baby’s reach. Decorations should not be attached with exposed staples, pins, wire, or hot glue that can detach.
How should you build the divided ornament box?
Cut away the top and one long side of the box so the camera has a clear view. Cover the remaining cardboard with wrapping paper or matte craft paper. Matte surfaces are easier to photograph because they produce fewer bright reflections.
Create two or three large compartments with cardboard strips. Secure each divider from the outside using strong tape, then cover all cut edges with additional tape or paper. Push and pull on every divider before the baby enters the set. A divider should not tip, fold inward, or trap fingers.
Keep the compartment holding the baby larger than the decorative sections. The child should have room to sit naturally without being wedged against cardboard. Place ornaments in separate compartments or several feet behind the child so they appear nearby without becoming reachable toys.
How can you pose a baby safely in the prop?
Use a seated pose only when the baby already sits independently and steadily. Development varies, so age alone is not a reliable guide. Dress the baby before placing them in the set, and keep the session short to reduce frustration or sudden movement.
Position one responsible adult immediately beside the open edge of the box. The adult can move a hand away for the instant the photograph is taken, but should never step away. Another person can operate the camera. Stop if the baby leans repeatedly, grabs the dividers, mouths decorations, or appears tired.
Newborns and babies who cannot sit independently should not be propped upright with hidden supports. A safer alternative is a flat, overhead composition in which the baby lies on a firm, appropriate surface and the box design is arranged around the baby without loose objects nearby. Complex newborn posing is best handled by a photographer trained in newborn safety and compositing.
What lighting and camera angle work best?
Place the open side of the prop near a large window with indirect daylight. Turn off harsh overhead lights to prevent mixed color tones. If the window creates strong shadows, place a white foam board opposite it to reflect light toward the baby.
Photograph from the baby’s eye level for a package-display effect. A slightly higher angle can show the dividers more clearly, but avoid standing on unstable furniture. Leave space around the box in the frame so the final image can be cropped for cards, prints, or social posts.
How can the photo look more like ornament packaging?
Limit the design to two or three colors, such as red, white, and gold. Repeat the same colors in the baby’s clothing, wrapping paper, and ornaments. A simple label can be added digitally after the session rather than placing a sign or loose letters beside the baby.
Basic editing can brighten the image, straighten box edges, remove visible tape, and crop out the supervising adult. Do not rely on editing to make an unsafe setup appear acceptable. Photographing the baby and decorations separately is often the safest way to create a fuller ornament display.
What are the limitations of this photo prop?
The setup is not suitable for every baby. It depends on the child’s mobility, comfort, and ability to remain stable for a brief photograph. Cardboard props can also bend unexpectedly, and oversized plastic ornaments may still crack or release small caps.
The finished image may require compositing if the intended design includes lights, many ornaments, deep compartments, or a baby who cannot sit safely. A digital composite takes more editing time, but it allows decorative elements to be photographed separately while the child remains in a plain, controlled setting.
A floor-level box, wide baby compartment, shatterproof decorations, and hands-on adult supervision provide the safest practical approach. If any part of the concept requires balancing, confinement, loose accessories, or unsupported posing, create that part digitally instead.
How can you safely create a baby in ornament box photo prop for printing or sharing?
For a baby in ornament box photo you plan to print or share, keep the child on a firm, floor-level surface, use soft lightweight decorations, and maintain hands-on supervision throughout the setup. Create unsupported-looking poses through careful cropping or compositing rather than by removing physical support during the session. Before exporting, check the image edges for visible clips, sharp cardboard, cords, unstable dividers, or an adult’s partial hand. Avoid sharing location clues, personalized nursery items, birth details, or other information you do not want circulated. Keep one private, unedited copy so the original safety arrangement is documented. For a 5×7-inch print, a 1500 × 2100-pixel file supports 300 DPI output (Vistaprint, 2026). Review a printed proof to ensure cropping does not cut into the baby or ornament-box border.
Frequently asked questions
What size box works for a baby ornament photo prop?
The box should be shallow, stable, and wide enough for the baby to sit without touching the dividers. Exact dimensions depend on the child, so test the empty compartment before decorating.
Can a newborn sit inside an ornament box prop?
A newborn should not be propped into a seated position. Use a flat overhead arrangement or a composite created by a photographer trained in newborn safety.
Are plastic Christmas ornaments safe for the setup?
Oversized shatterproof ornaments are safer than glass, but they must still be inspected for cracks, removable caps, glitter, and small parts. Keep them outside the baby’s reach whenever possible.
Can string lights be placed inside the box?
String lights, cords, plugs, and battery packs should not be within the baby’s reach. Photograph lights separately or add a light effect during editing.
How do you keep the cardboard dividers upright?
Use doubled cardboard or foam board and secure the dividers from the exterior with strong tape. Test each divider firmly before placing the baby in the prop.
What should a baby wear for an ornament box photo?
A simple romper, pajamas, or bodysuit in one of the set’s main colors keeps attention on the baby. Avoid necklaces, long ribbons, detachable buttons, and restrictive costumes.
Can the adult spotter be removed from the final image?
An adult’s hand or body can be cropped or retouched from the photograph. The spotter should remain within arm’s reach throughout the session regardless of the planned edit.
How long should the photo session last?
Keep the active session brief and stop as soon as the baby becomes tired, upset, or interested in pulling the prop apart. Prepare lighting and camera settings before placing the baby in position.
Is it safe to edit the adult spotter out of a baby ornament box photo?
Yes, if the adult physically supported and supervised the baby during the entire session. Editing may remove a hand or arm from the finished image, but it must never replace real support on set. Keep the original image, and avoid edits that depict a position the baby could not safely maintain.
What personal details should be removed before sharing a baby ornament box photo?
Remove or crop visible names, addresses, birth dates, hospital information, school or daycare identifiers, and location clues. Check ornament labels, gift tags, wall art, reflections, and image metadata as well. If posting publicly, consider using only the baby’s first name or no name and limiting who can view or download the image.