
How to Edit Christmas Photos Step by Step
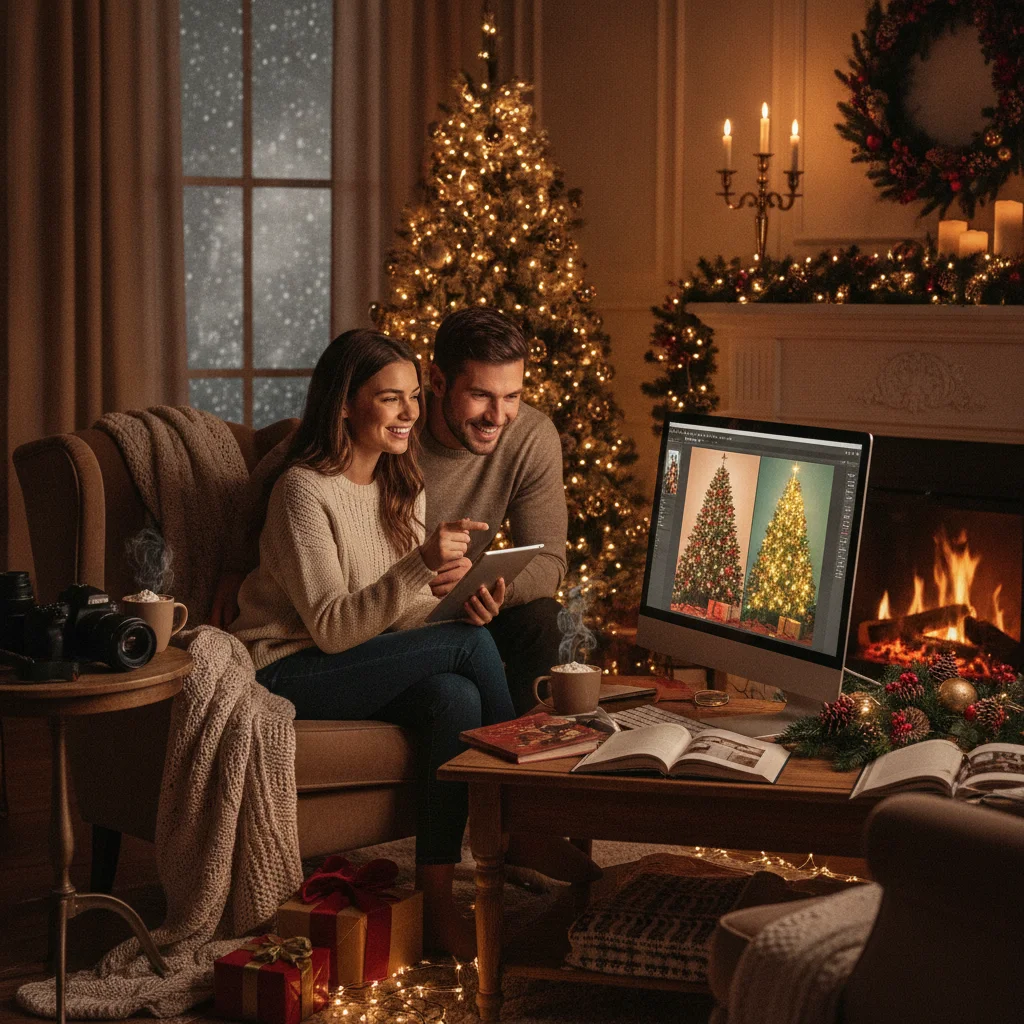
Quick answer: Start by choosing a sharp photo, correcting exposure and white balance, and cropping distracting edges. Adjust highlights, shadows, and color gently before applying selective edits to faces or decorations. Add festive filters, text, frames, or light effects only after the basic correction is complete, then export a high-resolution copy for printing or a smaller version for sharing.
Editing Christmas photos is easiest when you work in a fixed order. Correct the image first, apply creative effects second, and export it last. This process works for family portraits, Christmas tree photos, pet pictures, party snapshots, and images intended for holiday cards.
What should you do before editing a Christmas photo?
Choose the sharpest version of the photo before opening an editor. Check faces at full size because a slightly blurred expression may not be obvious in a small gallery preview.
Save an untouched copy of the original. Many editing apps are nondestructive, but keeping the source file gives you a reliable backup if an edit is accidentally overwritten.
Decide where the finished photo will be used. A printed card needs more resolution than a social media post, while a profile image may require a square crop.
How do you edit a Christmas photo step by step?
- Crop and straighten the image. Remove empty space and distractions near the edges. Keep important details, such as faces, ornaments, and the top of the tree, away from the crop boundary.
- Correct the exposure. Raise exposure only if the whole image is dark. Reduce highlights to recover detail in string lights, candles, snow, and reflective ornaments.
- Adjust shadows. Lift shadows carefully to reveal faces or clothing. Excessive shadow recovery can make dark areas look gray and introduce visible noise.
- Fix white balance. Indoor Christmas lights often create a strong yellow or orange cast. Move temperature slightly cooler if skin looks too warm, but retain enough warmth to preserve the cozy atmosphere.
- Refine color. Add a small amount of saturation or vibrance if decorations look dull. Watch red clothing and green trees because those colors can become unnatural quickly.
- Improve faces selectively. Brighten faces with a local adjustment instead of increasing brightness across the entire photo. Use skin smoothing sparingly so facial texture remains believable.
- Add creative details. Apply a filter, border, text, snow overlay, or light effect only after completing the corrections. Lower the effect opacity when it competes with the people in the image.
- Review at full size. Inspect faces, hair, text, and high-contrast edges for halos, blur, or accidental cutouts before saving.
Which adjustments solve common Christmas photo problems?
| Problem | Adjustment | What to avoid |
|---|---|---|
| Bright lights with dark faces | Lower highlights and brighten faces locally | Raising global exposure too far |
| Strong yellow indoor color | Cool the white balance slightly | Making skin look blue |
| Dull tree or decorations | Add modest saturation and contrast | Oversaturating reds and greens |
| Grain in low light | Apply light noise reduction | Removing facial detail |
| Busy background | Crop or add subtle background blur | Blurring hair and ornament edges |
How can you make a Christmas photo look festive without overediting it?
Choose one main decorative treatment. A photo usually needs a frame, a snow effect, or a text greeting rather than all three at maximum strength.
Match the effect to the existing lighting. Warm gold overlays suit candlelight and indoor trees, while cooler whites can suit outdoor snow scenes.
Place greetings in open areas such as a plain wall, dark sky, or uncluttered floor. Text should not cover faces, hands, pets, or recognizable decorations.
What type of app can you use to edit Christmas photos?
Most phone photo editors can handle cropping, exposure, white balance, portrait adjustments, and export settings. Template-based apps are useful when you want seasonal frames, stickers, or greeting text without designing the layout manually.
Christmas Pictures App: PiXmas is one optional iPhone app focused on Christmas imagery. ChristmasCard.io mentions it as an independent editorial recommendation and is not affiliated with PiXmas, PicsMas, or any app. App ratings, features, pricing, and availability can change, so check the current App Store listing before downloading.
How should you save a Christmas photo for sharing or printing?
Export a full-resolution JPEG at high quality for cards and prints. Avoid repeatedly saving and reopening JPEG files because repeated compression may reduce detail.
Create a separate smaller copy for messaging or social media. Use the platform’s intended aspect ratio, and check that text remains readable on a phone screen.
Keep the edited master without text if you may reuse the portrait later. A clean version is easier to adapt to a different card layout or print size.
What are the limitations of Christmas photo editing?
Editing cannot fully restore severe motion blur, missed focus, or large areas that are completely overexposed. Artificial sharpening may make edges more visible, but it cannot recreate reliable facial detail that the camera did not capture.
Automatic background removal and generated snow can make mistakes around hair, glasses, fur, branches, and transparent ornaments. Inspect those edges closely before printing.
Low-resolution screenshots may look acceptable on a phone but print poorly. Start with the original camera file whenever possible, especially for folded cards, enlargements, or photo gifts.
Which lighting and camera settings make Christmas photos print-ready?
Soft, even window light and the lowest practical ISO give Christmas photos the cleanest starting point for print-ready editing. Position people beside or facing a window rather than directly beneath warm ceiling lights, which can create uneven color on skin. Keep decorative lights switched on, but expose for faces and check that bright bulbs are not losing all detail. If possible, capture RAW files so white balance and shadow detail remain more adjustable; otherwise, select the highest-quality JPEG setting. Use a steady camera or tripod when lowering ISO requires a slower shutter speed, especially beside a dimly lit tree. During editing, correct skin tones before increasing saturation in ornaments or greenery. Preserve the original dimensions when exporting: a 5-by-7-inch print at 300 DPI requires 1500 by 2100 pixels (Vistaprint, 2026).
Why noon and after-dark Christmas photos need different edits
Noon Christmas photos usually resist editing because hard overhead light creates deep facial shadows and washed-out decorations, while after-dark photos are limited by noise, motion blur, and extreme contrast around Christmas lights. For a noon photo, reduce highlights, lift shadows selectively, and soften excessive blue or green tones without flattening the entire scene. Editing cannot restore facial detail that direct sunlight has completely erased. For an after-dark photo, brighten faces locally, apply moderate noise reduction, and protect illuminated decorations from becoming blank white patches. Avoid raising global exposure too far because dark backgrounds will quickly reveal grain. Noon edits should balance harsh daylight; after-dark edits should preserve the mood while making people readable. If either version contains clipped highlights, blocked shadows, or strong blur, a different original frame will usually produce a more natural result.
Frequently asked questions
What is the best order for editing Christmas photos?
Crop and straighten first, then correct exposure, white balance, shadows, and color. Apply filters, text, frames, or overlays after the basic corrections.
How do I fix Christmas lights that look too bright?
Reduce highlights and whites until detail returns around the bulbs. Brighten faces with a selective adjustment instead of raising the exposure of the entire image.
How can I remove a yellow cast from indoor Christmas photos?
Move the white balance temperature slightly toward blue and check skin tones as you adjust. Keep some warmth so the room does not look cold or unnatural.
Should I add fake snow to a Christmas photo?
Fake snow works best as a subtle foreground or background detail. Reduce its opacity and prevent large flakes from covering faces or important text.
What resolution should I use for a printed Christmas card?
Use the original full-resolution image and export at high JPEG quality. The required pixel dimensions depend on the card size and the printing service.
Can a blurry Christmas photo be fixed?
Minor softness may improve with careful sharpening, but motion blur and missed focus cannot usually be repaired completely. Another image from the same sequence is often the better choice.
What camera settings should I use for indoor Christmas photos?
Use the lowest ISO that still allows a shutter speed fast enough to prevent movement blur. Choose a moderately wide aperture for one or two people, then narrow it when several faces must remain sharp. Set white balance for the main light source and watch bright decorations for lost detail.
Should I edit Christmas photos in RAW or JPEG?
RAW is preferable when you need substantial control over exposure, white balance, highlights, or shadows. JPEG is suitable when the lighting and color already look accurate and only minor edits are needed. If your camera supports both formats, saving both provides an editable file and a convenient ready-to-view copy.
Why do faces look worse when I brighten a nighttime Christmas photo?
Brightening the entire nighttime image exposes noise, uneven skin tones, and color contamination from nearby Christmas lights. Use a selective mask to raise exposure on faces, then apply light noise reduction and adjust skin color separately. Keep the background relatively dark so the image retains its nighttime appearance.
Can I make a noon Christmas photo look like it was taken at golden hour?
You can suggest golden-hour warmth, but you cannot fully recreate its soft directional light. Warm the white balance slightly, reduce harsh highlights, lift facial shadows, and add restrained warmth to sunlit areas. Avoid a strong orange filter, especially when overhead noon shadows remain visible beneath eyes and chins.