
How to Light Snowy Outdoor Christmas Portraits
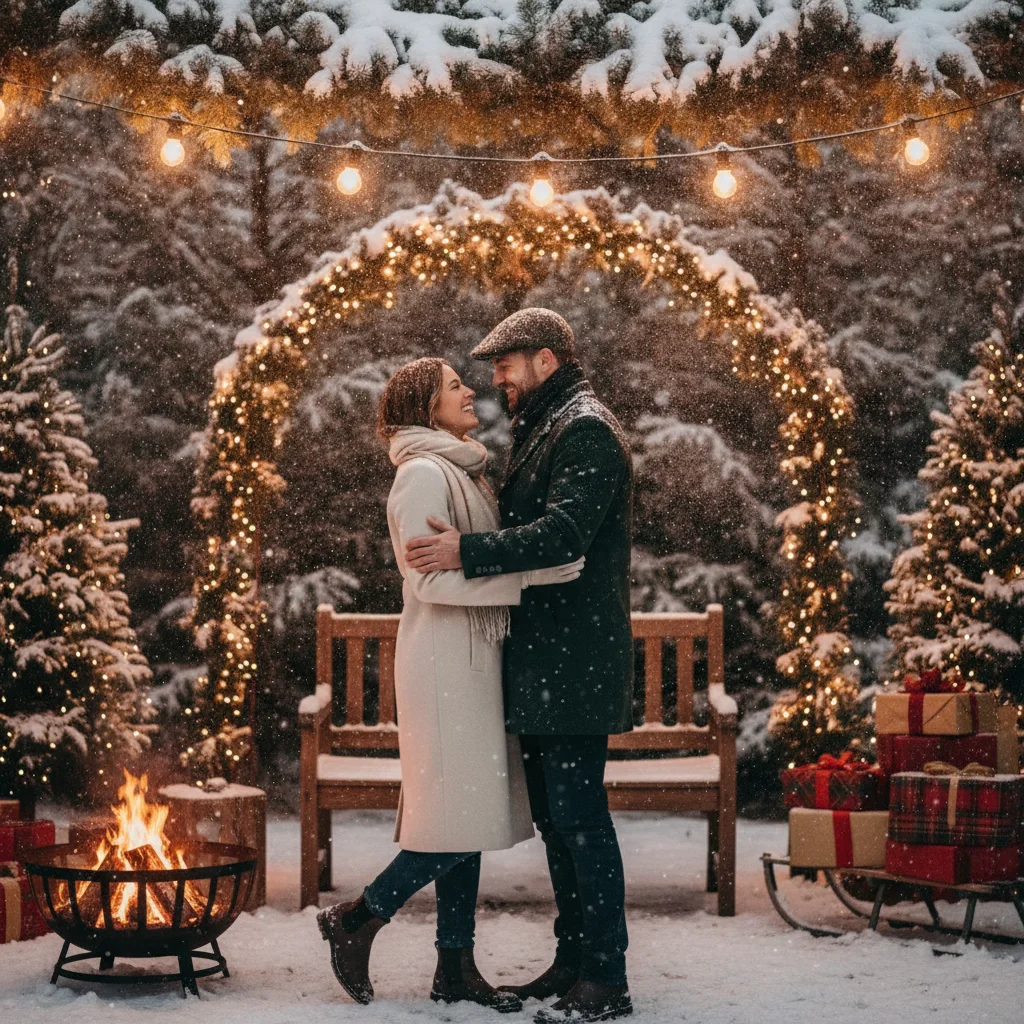
Quick answer: Light snowy outdoor Christmas portraits by exposing for the subject’s face while monitoring bright snow for clipped highlights. Use open shade or soft late-day light, then add gentle off-camera flash or a reflector. Increase exposure compensation when snow looks gray, keep the light close for softness, and balance flash color with nearby Christmas lights.
Snow creates a bright, reflective setting for Christmas portraits, but it can confuse a camera meter and produce gray snow or dark faces. The most reliable approach is to treat the face as the main subject, use the snow as natural fill, and check highlight warnings before taking the full set of photographs.
Why does snow make portrait exposure difficult?
Camera meters generally try to render a scene as a middle tone. A frame filled with white snow may therefore be underexposed, making the snow gray and the people too dark. In an automatic or semi-automatic mode, positive exposure compensation tells the camera that the scene should remain bright.
Start around +0.7 to +1.3 EV and review the result. Some overcast scenes may need more, while direct sunlight may need less. Use the histogram and highlight warning rather than relying only on the rear screen, which can look unusually bright in a dark winter environment.
- Expose for faces, especially when the subjects are backlit.
- Keep important snow texture below pure white when possible.
- Photograph RAW files for greater highlight and white-balance control.
- Recheck exposure whenever clouds, backgrounds, or shooting angles change.
What natural light works best for snowy Christmas portraits?
Open shade provides soft, even facial light and reduces squinting. Place the subjects near the edge of the shade so they face an open area of sky. Avoid positioning them deep beneath dense trees, where overhead light can create dark eye sockets and a green color cast.
Late afternoon light can add warmth to blue-white snow. Position the low sun behind or slightly beside the subjects, then expose for their faces. The snow in front of them acts as a broad reflector and fills shadows beneath the eyes and chin.
Direct midday sun is harder to manage because snow reflects strong light upward. Turn subjects away from the sun, seek light shade, or use a diffuser if an assistant can hold one safely. A reflector is often unnecessary in full snow because the ground already supplies substantial fill.
Which lighting setup should you use?
| Situation | Recommended light | Starting approach |
|---|---|---|
| Bright overcast | Natural light | Expose for faces and add positive compensation |
| Backlit sunset | Flash or reflector | Add subtle frontal fill without removing all shadows |
| Blue hour | Off-camera flash | Set the background exposure first, then light the subjects |
| Christmas light display | Warm gelled flash | Match the flash more closely to the decorative lights |
For flash portraits, place one light about 30 to 45 degrees from the camera and slightly above eye level. Use a softbox or umbrella if wind conditions are safe. Bringing a modifier closer makes the light softer, while lowering flash power helps preserve the natural winter atmosphere.
TTL flash is useful when children move toward or away from the light. Manual flash offers more consistent results when everyone remains in a fixed position. Begin with low fill, review the face, and increase power only when the ambient shadows remain too deep.
How should camera settings be chosen in snow?
Begin with the widest aperture that keeps every face sharp. A single-person portrait may work at f/2.8, while a family arranged in multiple rows may require f/4 to f/8. Focus on an eye in the front third of the group rather than automatically focusing on the nearest coat or hat.
Use at least 1/250 second for active children and increase the shutter speed for running, falling snow, or windy clothing. Raise ISO as needed instead of accepting motion blur. When using flash, confirm the camera’s normal synchronization limit or enable high-speed sync.
- Set the composition and ambient exposure.
- Check that bright snow retains useful detail.
- Add flash or reflector fill for the faces.
- Zoom in to inspect eyes, skin tone, and motion.
- Repeat the check after any major position change.
How can Christmas lights stay visible in the portrait?
Decorative lights need a darker ambient exposure than daytime snow usually allows. Photograph near sunset or during blue hour, when the bulbs can register without the surroundings becoming completely black. Place the subjects several feet in front of the lights to create soft background circles at a wide aperture.
Set the background brightness first, then add flash to the faces. If bare flash looks too blue beside warm bulbs, attach a quarter or half CTO warming gel. A custom white balance or RAW processing can then keep skin natural while preserving a warm holiday background.
What safety and equipment precautions are necessary?
Use weighted light stands and avoid large umbrellas in wind. Keep batteries warm in an inside pocket because cold reduces their working capacity. Carry a microfiber cloth for melting flakes, and use a lens hood to limit moisture on the front element.
Before returning indoors, place cold cameras and lenses in a closed bag so condensation forms on the bag rather than inside the equipment. Give children frequent warming breaks, keep cables away from walking paths, and stop if ice, wind, or low temperatures make the session unsafe.
What are the limitations of outdoor snow lighting?
Snow conditions can change quickly, and no single exposure-compensation value works in every scene. Deep shade may produce blue skin, falling snow may trigger autofocus errors, and powerful flash can flatten the atmosphere or illuminate nearby flakes as bright spots.
Small modifiers may not cover a large group evenly, while large modifiers can become hazardous in wind. When conditions are difficult, prioritize safe positioning, sharp faces, and consistent expressions over complex lighting. A simple open-shade portrait often produces a better result than an unstable multi-light setup.
The most dependable snowy Christmas portrait setup is soft natural light with the subjects facing open sky, followed by restrained flash only when their faces need extra brightness. Protect snow highlights, keep shutter speed high enough for movement, and make safety the deciding factor for every stand and modifier.
The camera setting that makes snowy outdoor Christmas portrait lighting print-ready
For print-ready snowy outdoor Christmas portraits, expose for skin in RAW, then increase exposure only until the snow looks white while retaining texture in the brightest drifts. Use manual exposure or exposure lock so reframing between dark clothing and open snow does not change brightness. Start at ISO 100–400, select a shutter speed of at least 1/250 second for standing subjects, and adjust the aperture or soft fill flash for the faces. Check the RGB histogram and highlight warning rather than judging the rear screen alone; small clipped sparkles are acceptable, but broad flashing areas indicate lost snow detail. Keep faces bright enough to avoid heavy shadow recovery and its resulting noise. For a 5×7-inch card at 300 DPI, prepare a 1500 × 2100-pixel final image (Vistaprint, 2026).
Why do snowy portraits fail at noon and after dark?
The single most common failure in snowy outdoor Christmas portraits is exposing the face and snowy setting as though they have the same brightness, which breaks differently at noon and after dark. At midday, overhead sun can leave eye sockets dark while reflective snow and pale clothing lose detail. At night, exposing only for faces can turn the surroundings black, while strong direct flash can erase the glow of decorative lights. Spot the problem in the final edited image before sending the card: zoom in on faces for open eyes and natural skin, then check that textured snow remains visible and background lights still have color rather than becoming white dots. If one exposure serves only the face or only the snow, revise the lighting or choose another frame.
Frequently asked questions
What exposure compensation should I use for portraits in snow?
A starting range of +0.7 to +1.3 EV often keeps snow bright instead of gray. The correct value depends on the light, so confirm it with the histogram and highlight warnings.
Should I use flash for outdoor snow portraits?
Flash is useful for backlit subjects, blue-hour sessions, and dark eye shadows. Keep it subtle so the portrait still looks natural.
What white balance is best for snowy portraits?
Daylight or a custom white balance gives a consistent starting point, while RAW capture allows later correction. Shade settings can warm blue snow but may make skin too orange.
How do I photograph falling snow with flash?
Keep the flash off-camera and avoid placing it too close to the lens axis. Lower flash power and choose a background that makes the flakes visible without turning nearby flakes into large white spots.
What shutter speed should I use for children in snow?
Use at least 1/250 second for ordinary movement and 1/500 second or faster for running or snow play. Increase ISO when necessary to maintain the chosen shutter speed.
How do I keep Christmas lights visible behind the subjects?
Photograph near sunset or during blue hour and expose the background before adding light to the faces. A wide aperture and greater subject-to-background distance make the bulbs appear softer.
Can a phone photograph snowy outdoor Christmas portraits?
A phone can produce good results in soft light if exposure is adjusted for the face and bright snow is monitored. ChristmasCard recommends avoiding digital zoom and using the main camera whenever possible.
How do I keep white snow from losing detail in a printed portrait?
Protect snow detail by checking highlight warnings and reducing exposure when large areas blink. Expose faces with a reflector or low-power fill flash instead of brightening the entire frame. During editing, lower highlights selectively and keep the snow near neutral white without flattening its blue-gray shadows, which provide visible texture in print.
Why do snowy portraits look darker after printing?
Snowy portraits often print darker because a screen emits light while paper reflects it. Edit at moderate screen brightness, evaluate skin tones separately from the snow, and make a small test print when possible. Avoid lifting every shadow indiscriminately, since that can reduce contrast in coats, trees, and falling snow.
Can I take snowy Christmas portraits at noon?
Yes, but noon is difficult because overhead sunlight creates deep facial shadows while bright snow approaches overexposure. Move subjects into open shade, place the sun behind them, or use gentle fill light. Review both skin and snow detail before leaving rather than trusting the camera’s screen brightness alone.