
How to Add Return Addresses to Christmas Card Envelopes Efficiently
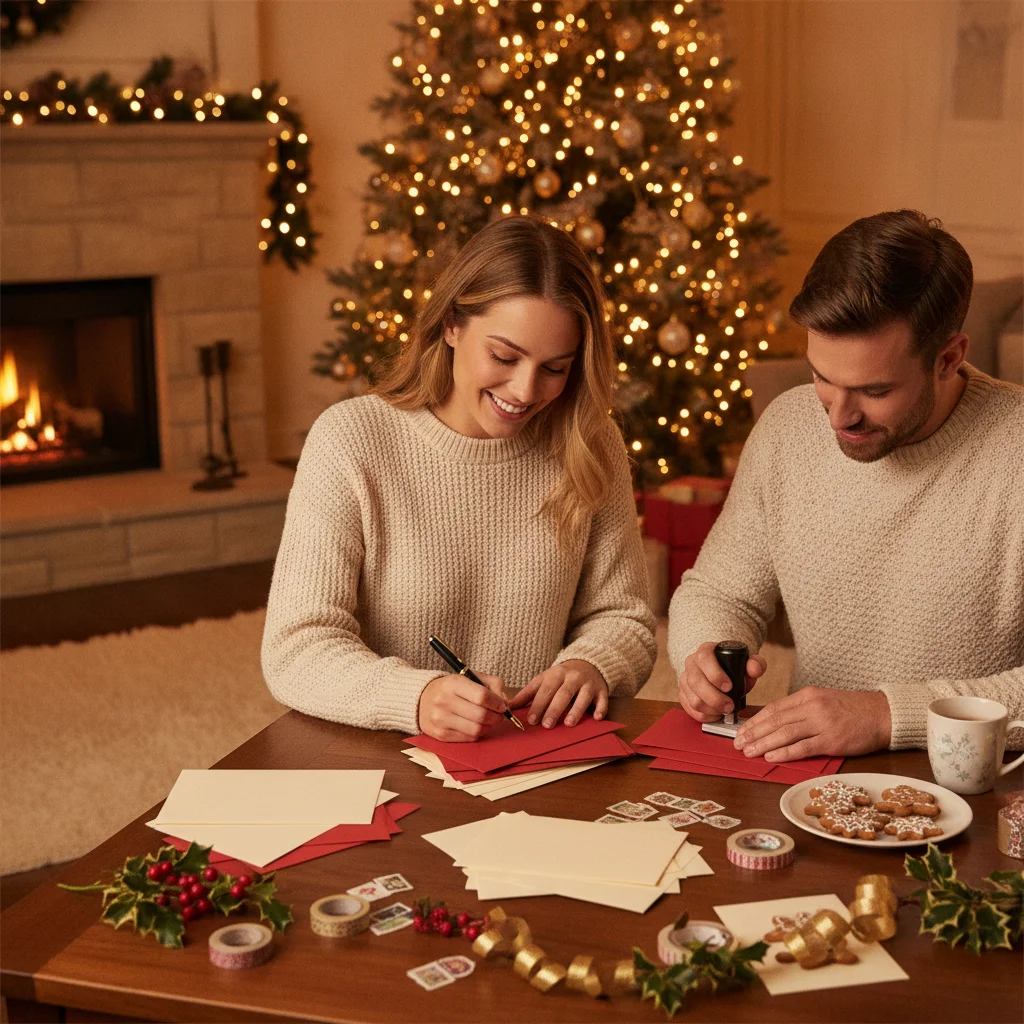
Quick answer: Add a return address to the upper-left corner on the front of each Christmas card envelope for the most reliable postal handling. Handwrite it, apply printed labels, use a self-inking stamp, or print directly on the envelopes. Complete the return addresses before stuffing and sealing the cards so envelopes stay flat and mistakes are easier to correct.
A return address allows an undeliverable Christmas card to come back to the sender. It also helps recipients identify the household that sent the card, especially when the greeting or signature is difficult to read.
The best method depends on the number of cards, the envelope material, and whether you want a handwritten or uniform appearance. Planning the return-address step before stuffing envelopes saves time and reduces damaged cards.
Where should a return address go on a Christmas card envelope?
Place the return address in the upper-left corner on the front of the envelope. This is the standard location for domestic mail and gives postal equipment a predictable place to find the sender information.
Write or print the recipient address near the center of the envelope. Keep the upper-right corner clear for postage, and leave enough space between the return address and recipient address to prevent confusion.
Some people put a return address on the back flap for a decorative look. A back-flap address may be less visible during postal processing, so the upper-left front position is the safer choice when reliable return handling matters.
What information should the return address include?
Use the sender’s name or household name, street address, city, state abbreviation, and ZIP Code. Include an apartment, suite, or unit number when applicable.
A typical return address can follow this format:
Jordan and Casey Lee
125 Pine Street
Denver, CO 80206
A surname-based label such as “The Lee Family” is suitable when everyone in the household is represented. Individual names may be better when the recipients do not know the entire household.
Use a current address rather than an address saved from a previous holiday season. Confirm recent moves, temporary forwarding arrangements, and apartment numbers before producing labels or printing envelopes.
Which return-address method is most efficient?
| Method | Best for | Main consideration |
|---|---|---|
| Handwriting | Small card lists | Personal but slower |
| Printed labels | Medium or large lists | Fast and easy to correct |
| Self-inking stamp | Repeat annual use | Requires an up-to-date address |
| Direct envelope printing | A coordinated printed look | Requires printer-compatible envelopes |
Handwriting works well for a short list and complements handmade cards. Use dark, permanent ink and print clearly enough for both recipients and postal workers to read.
Printed labels are practical for larger batches. Run a test sheet on plain paper first, compare the alignment with the label sheet, and verify that every line fits without being cut off.
A self-inking stamp is quick and reusable. Let the ink dry before stacking envelopes, especially on coated, metallic, or glossy paper.
Direct printing removes the need for separate labels and can match the recipient-address typography. Check the printer manual for envelope size, feed orientation, thickness limits, and flap placement before printing the full batch.
How can you organize the process step by step?
- Finalize the sender name and return address exactly as they should appear.
- Count the envelopes and add several extras for printing, ink, or handwriting mistakes.
- Choose handwriting, labels, a stamp, or direct printing based on the batch size.
- Test the layout or ink on a spare envelope before processing the full stack.
- Add return addresses while the envelopes are empty and flat.
- Check every envelope for legibility, complete address lines, and smudged ink.
- Insert the cards, seal the envelopes, add recipient addresses, and apply postage.
Break a large mailing into smaller batches. Processing 20 to 30 envelopes at a time makes it easier to catch skipped envelopes and maintain consistent placement.
Keep completed envelopes in a separate tray or box. A physical divide between unfinished and finished pieces prevents duplicate stamping or labeling.
How should return addresses be added to dark or decorative envelopes?
Dark paper requires strong contrast. Use an opaque white or metallic pen only if the ink remains clear, permanent, and resistant to smearing. A light-colored printed label is often easier for postal equipment and people to read.
Avoid placing the address over glitter, embossed patterns, foil, or textured decorations. Choose a smooth area, and do not allow artwork to crowd the letters or numbers.
For glossy envelopes, test every pen, stamp ink, or label adhesive. Some inks remain wet on coated paper, while some labels can lift at the corners during handling.
What mistakes should you avoid?
- Do not omit the ZIP Code or apartment number.
- Do not use pale ink with weak contrast.
- Do not place the return address close to the postage area.
- Do not print the entire batch before checking one sample.
- Do not stack freshly stamped envelopes before the ink dries.
- Do not rely on an outdated stamp after moving.
Decorative fonts should remain readable at a small size. Reserve ornate lettering for names and use a simple typeface for the street, city, state, and ZIP Code.
What limitations should you consider?
Home printers may crease envelopes, print unevenly, or reject thick paper. Metallic finishes and heavily textured stock can also interfere with ink adhesion or machine readability.
Return addresses cannot guarantee that every undeliverable card will be returned. Postal condition, postage, address accuracy, and the type of mail service can affect handling.
International cards may require different address formatting and postage. Confirm the destination country’s address order and current postal requirements before mailing.
For most holiday mailings, printed labels provide the best balance of speed, readability, and low setup effort. A self-inking stamp is the quickest reusable option, while upper-left placement on the envelope front remains the most dependable choice.
How mailing and postage choices affect return addresses on Christmas card envelopes
The mailing or postage choice can change how you add a return address to Christmas card envelopes: a basic domestic card usually allows flexible placement, while certain classes and add-on services require a return address in a prescribed location. Priority Mail is one class that must bear a return address (USPS, 2026). If you upgrade a card from ordinary letter postage or request accountable handling, check that service’s current rules before stamping the batch. Place the sender block on the front upper-left when a requirement applies; do not rely only on a decorative back-flap address. For international cards, include the sender’s country in the return address and follow the destination postal operator’s format. Requirements are not identical across services or countries, so no single postage rule covers every Christmas card mailing.
Do return-address labels or back-flap stamps affect Christmas card postage?
An adhesive return-address label and a flat back-flap stamp normally have the same postage effect: neither should change the rate when it stays flat and the finished envelope remains within applicable letter standards. The trap is checking postage before adding every card, insert, label, sticker, or seal. Square envelopes, rigid mailpieces, and envelopes with clasps, wax seals, or uneven thickness may require different handling or extra postage even when the return-address treatment itself is light (USPS, 2026). Apply all return-address labels or stamps before weighing a fully assembled sample, and compare its shape, flexibility, and thickness with the mailing rules. If several envelope styles are in the batch, test each style separately. A mailing deadline does not waive postage requirements, so leave time to correct underpaid or nonmachinable pieces before sending.
Frequently asked questions
Is a return address required on a Christmas card?
A return address is not generally required for an ordinary domestic Christmas card, but it allows undeliverable mail to be returned. Certain mail classes or services may have separate requirements.
Can a return address go on the back flap?
A return address can be placed on the back flap for appearance, but the upper-left corner on the front is more reliable for postal handling.
Should I use labels or print directly on envelopes?
Labels are easier for most large batches, while direct printing creates a coordinated appearance. Envelope thickness and printer compatibility should guide the choice.
Can I use a self-inking stamp for holiday cards?
A self-inking stamp is an efficient option when the return address will be reused. Test the ink on glossy or coated envelopes and allow it to dry.
Should a return address include every family member’s name?
Every family member does not need to be listed. A household surname or the names of the primary senders are both acceptable.
What color ink is best for a return address?
Dark ink on a light envelope provides the strongest readability. Dark envelopes should use a high-contrast label or opaque ink that does not smear.
When should I add the return addresses?
Add return addresses before inserting and sealing the cards. Empty envelopes stay flatter and are easier to print, stamp, label, or replace.
Does metered postage change how I add a return address?
Metered postage may change the applicable return-address requirements, depending on the mail class, service, and postal account terms. Put the return address in the upper-left corner on the front unless your postage provider gives different instructions. Confirm the rules before processing an entire batch rather than assuming ordinary stamped-letter practices apply.
How do I format a return address for Christmas cards sent internationally?
Include the sender’s full name, street address, city or locality, postal code, and country. Write the country name clearly on the final line, preferably in capital letters. Keep the return address separate from the destination address, and verify whether the destination country requires a different ordering of address elements.
Do return-address labels add enough weight to change Christmas card postage?
Usually, one paper return-address label adds too little weight to affect postage by itself. However, postage is based on the complete envelope, including the card, inserts, decorative elements, and labels. Weigh a fully assembled sample from each card style, especially when an envelope is already close to a weight threshold.