
How Do You Take Well-Exposed Christmas Photos in Snow?
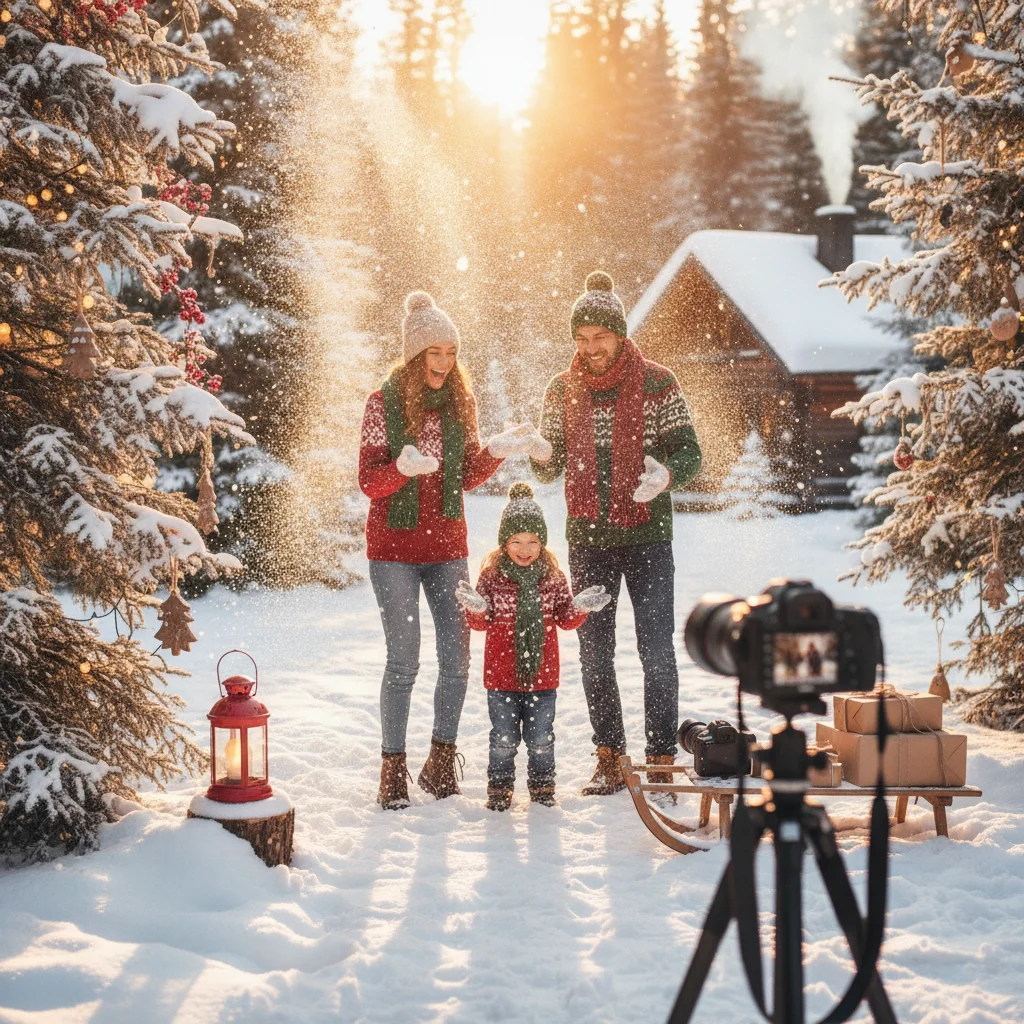
Quick answer: To take well-exposed Christmas photos in snow, increase exposure slightly so the snow looks white rather than gray, protect bright highlights, and expose faces separately when possible. Start with exposure compensation between +0.7 and +1.3 EV, use a low ISO in daylight, check the histogram, and adjust white balance to control blue color casts.
Snow can make Christmas photos look bright and festive, but it often confuses a camera's light meter. Automatic exposure systems try to render the scene as a medium tone, which can turn white snow gray and leave faces too dark. A few deliberate adjustments can preserve the snow's texture while keeping people, decorations, and Christmas lights properly exposed.
Why does snow make Christmas photos look too dark?
A camera meter assumes that most scenes contain a balanced mix of light and dark tones. A snow-covered setting is much brighter than that average. When the camera sees a large white area, it reduces exposure, producing dull snow and underexposed subjects.
Exposure compensation is the fastest correction in aperture priority, shutter priority, or program mode. Begin around +0.7 EV and review the result. Increase toward +1.3 EV when snow fills most of the frame, but reduce the adjustment if highlights lose all visible detail.
Which camera settings work best for snowy Christmas portraits?
Use aperture priority for portraits when controlling background blur matters. An aperture between f/2.8 and f/4 can separate one person or a small group from the background. For larger groups, use approximately f/5.6 to f/8 so every face remains sharp.
Set ISO 100 to 400 in bright daylight. Choose a shutter speed of at least 1/250 second for handheld portraits and 1/500 second or faster for walking children, falling snow, or active pets. Raise ISO when needed rather than accepting motion blur.
| Situation | Starting settings | Exposure tip |
|---|---|---|
| Sunny snow portrait | ISO 100, f/4, 1/500 sec | Try +0.7 EV |
| Cloudy family photo | ISO 400, f/5.6, 1/250 sec | Try +1.0 EV |
| Falling snow | ISO 400, f/4, 1/1000 sec | Check bright flakes for clipping |
| Twilight lights | ISO 800, f/2.8, 1/125 sec | Expose for faces, then inspect lights |
How can you protect detail in bright snow?
Use the histogram and highlight warning rather than relying only on the screen preview. A histogram weighted toward the right is normal for a snowy scene. Avoid pushing the graph hard against the right edge, since that can indicate clipped highlights with no recoverable texture.
If the snow is blinking in the highlight warning across large areas, lower exposure by one-third or two-thirds of a stop. Small clipped reflections are usually acceptable. Photographing in RAW format gives you more room to recover highlights and correct shadows during editing.
How do you keep faces bright without overexposing snow?
Place people so soft daylight reaches their faces. Open shade near a snow-covered clearing often works well because snow reflects light upward, reducing harsh shadows under eyes and hats. Avoid positioning the subjects with direct midday sun behind them unless you can add fill light.
Use face detection or spot metering on a face when the people matter more than the landscape. A small amount of fill flash can brighten faces, but reduce flash power so the result does not look flat. Reflectors also work, although the surrounding snow often acts as a natural reflector.
How should white balance be set in snow?
Snow in open shade can appear blue because it reflects the sky. Auto white balance may correct the cast, but results can vary between frames. The daylight preset keeps sunlight consistent, while the cloudy or shade preset adds warmth.
For accurate control, photograph in RAW and set white balance during editing. Keep a slight cool tone if it supports the winter setting, but check skin tones carefully. Snow does not need to be perfectly neutral in every part of the frame because reflected light naturally changes its color.
How can a phone capture better Christmas photos in snow?
Tap the main subject on the screen, then raise the exposure slider until faces and snow look bright. Do not increase exposure so far that the snow becomes a blank white area. Lock focus and exposure if the phone supports that feature, especially when taking several group photos from the same position.
Turn off heavy beauty filters and excessive HDR if they create halos around trees or people. Use the main camera rather than digital zoom for better detail. In low light, steady the phone against a solid surface or use a small tripod, and ask subjects to remain still while night mode completes the exposure.
What composition choices make snowy Christmas photos stronger?
Look for contrasting elements such as red coats, green wreaths, wooden cabins, or warm string lights. These details keep a mostly white scene from feeling empty. Leave undisturbed snow in the foreground when possible, since footprints and dirty roadside snow can distract from the subject.
- Photograph shortly after fresh snowfall for cleaner backgrounds.
- Use tree branches to frame people without blocking faces.
- Keep the horizon level and check for poles growing visually from heads.
- Capture both posed portraits and candid interactions.
- Shield the lens from falling snow and wipe away water droplets.
What limitations should you expect when photographing in snow?
Cold weather drains batteries quickly, so carry a charged spare close to your body. Moving a cold camera directly into a warm room can cause condensation. Place the camera in a closed bag before going indoors and allow it to warm gradually.
Bright snow can also exceed the dynamic range of a phone or camera when subjects stand in deep shade. One exposure may not retain perfect detail in both faces and sunlit snow. In that situation, change the shooting position, add gentle fill light, or prioritize the people and accept a few bright background highlights.
The most reliable approach is to brighten the camera's suggested exposure, monitor the highlights, and give faces favorable light. Start with +0.7 EV, review the histogram, and make small adjustments until the snow remains white with visible texture.
What lighting and camera setup makes Christmas photos in snow print-ready?
For print-ready Christmas photos in snow, use soft front or side light, expose faces carefully, and capture enough pixels for the final card size. On bright snow, turn the subject so open sky lights the face without forcing the background beyond recoverable white. Check the brightest snow for texture, then confirm that skin remains clear; if one must take priority, protect facial detail and allow small areas of clean snow to lose texture. Avoid deep blue shade mixed with warm holiday lights, because correcting both later can leave skin or snow with an unwanted cast. A 5-by-7-inch image at 300 DPI requires 1500 by 2100 pixels (Vistaprint, 2026). Crop to the card’s aspect ratio before export and inspect faces, snow edges, and dark coats at final size.
Frequently asked questions
What exposure compensation should I use for snow?
Start between +0.7 and +1.3 EV when snow fills much of the frame. Reduce the setting if the histogram or highlight warning shows extensive clipping.
Should I use flash for Christmas photos in snow?
Low-power fill flash can brighten faces in backlit or shaded scenes. Keep the flash subtle so skin does not look flat and nearby snowflakes do not become distracting bright spots.
What ISO is best for snowy photos?
ISO 100 to 400 is suitable for most daylight scenes. Raise ISO enough to maintain a safe shutter speed when subjects are moving or light levels fall.
Why does snow look blue in my photos?
Snow reflects blue light from the sky, particularly in open shade. A cloudy or shade white balance setting can warm the image, while RAW files allow more precise correction later.
Should I shoot snow photos in RAW or JPEG?
RAW is preferable when available because it preserves more information for highlight recovery and white balance changes. JPEG is suitable when exposure and color are already accurate.
How do I photograph falling snow?
Use approximately 1/500 second to freeze flakes or a slower shutter speed to create streaks. A darker background makes falling snow easier to see.
How do I prevent my camera lens from fogging in winter?
Seal the cold camera in a bag before entering a warm building and let it reach room temperature gradually. This encourages condensation to form on the bag instead of inside the equipment.
What time of day is best for Christmas photos in snow?
Late morning or early afternoon often provides the most dependable winter light, especially where trees or buildings create long shadows. For softer portraits, photograph shortly after sunrise or before sunset, but keep faces turned toward open sky. Avoid placing subjects where direct sun and blue shade divide the face.
How do I keep snow from looking gray when printed?
Brighten the snow until it appears white while retaining visible texture in most highlighted areas. Set neutral white balance using clean snow only as a visual reference, not an automatic color target, because reflected sky can be naturally blue. Review the image at the intended crop and size before exporting.