
How to Edit Christmas Bokeh Lights in Photos
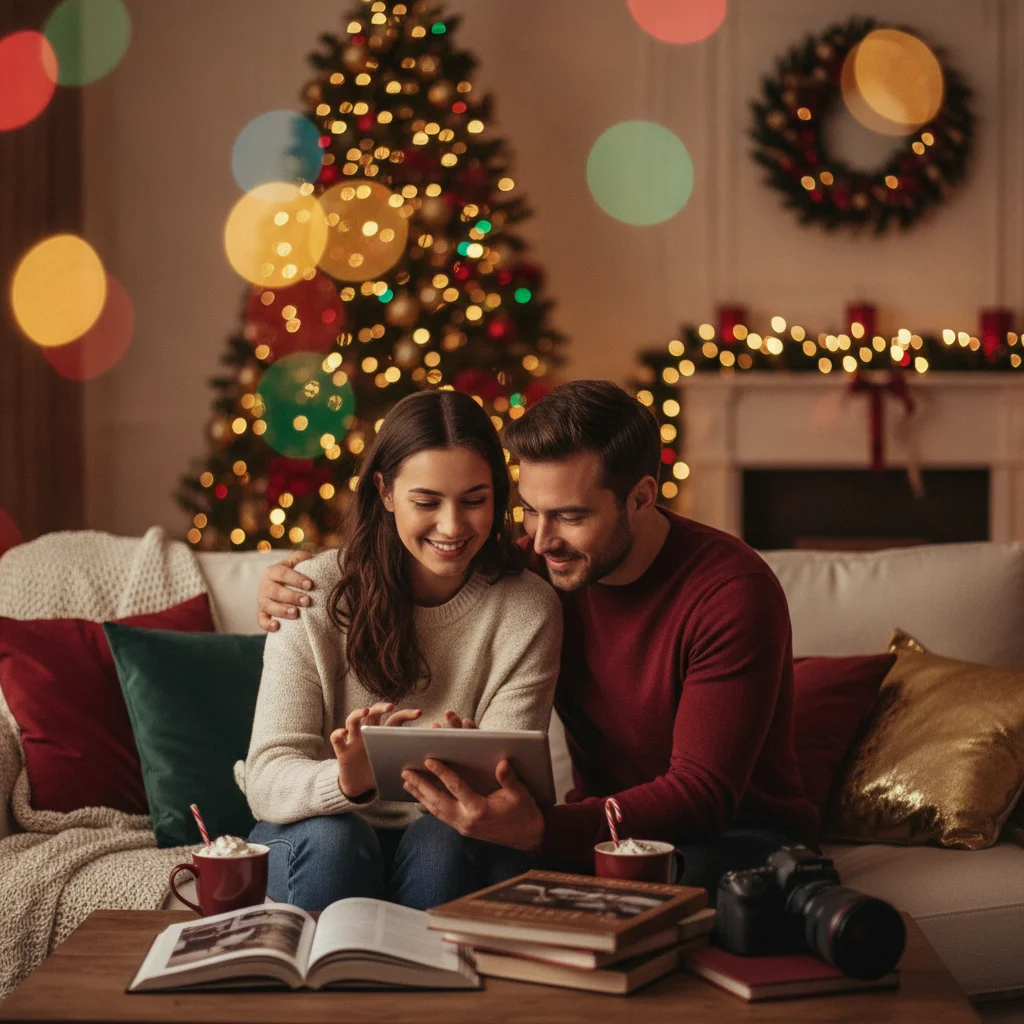
Quick answer: Start by correcting exposure and white balance, then mask the main subject separately from the background. Enhance existing Christmas bokeh by raising highlights, adding modest saturation, and softening background detail. If the lights are not blurred enough, use lens blur or a bokeh overlay while protecting faces, clothing, and other foreground elements.
What makes Christmas bokeh look good in a photo?
Christmas bokeh is created when small lights appear as soft, out-of-focus circles behind or in front of the main subject. The strongest results have a sharp subject, clear separation between foreground and background, and bright lights that retain some color.
Editing can improve existing bokeh, but the original photo still matters. Images taken with the subject several feet in front of the lights are easier to edit than images where the subject and lights are on the same focal plane.
Begin with the highest-resolution original available. RAW files provide more control over bright bulbs and dark indoor shadows, although JPEG and HEIC photos can also produce good results.
Which basic adjustments should you make first?
Correct the entire image before working on individual lights. Adjust exposure until the subject looks properly lit, then lower highlights if any bulbs or pale decorations appear completely white. Raise shadows carefully to reveal faces without making the background look gray.
Set white balance according to the mood of the scene. A slightly warmer temperature usually complements gold, red, and amber decorations. Reduce excessive yellow or orange if skin tones begin to look unnatural.
| Adjustment | Suggested starting point | Purpose |
|---|---|---|
| Highlights | -10 to -35 | Recovers detail around bright bulbs |
| Shadows | +5 to +25 | Brightens the subject |
| Temperature | Slightly warmer | Supports a cozy holiday color palette |
| Texture | Lower on background only | Softens distracting detail |
| Saturation | +5 to +15 on lights | Strengthens colored bokeh |
These values are starting points rather than fixed settings. The correct amount depends on the camera, room lighting, and brightness of the decorations.
How do you separate the subject from the bokeh?
Use a subject-selection or masking tool to isolate the person, pet, gift, or ornament that should remain sharp. Refine the mask around hair, fur, ribbons, and transparent objects. A soft feathered edge usually blends more naturally than a hard outline.
Apply sharpening, texture, and local exposure corrections inside the subject mask. Invert the mask to work on the background. Lower background texture and clarity slightly, but avoid removing every visible detail because the scene can begin to look synthetic.
Inspect the mask at high magnification. Blur spilling onto eyelashes, hair, or clothing edges is one of the most noticeable signs of heavy editing.
How can you enhance existing Christmas bokeh lights?
Create a mask for the bright light circles using luminance range, color range, or a brush. Increase whites and saturation modestly, then add a small amount of warmth. Avoid raising exposure so far that each circle loses its colored center.
A gentle glow can be added by duplicating the image layer, applying Gaussian blur, and using a lightening blend mode at low opacity. Limit the effect to the lights with a layer mask. This technique spreads illumination without reducing sharpness across the subject.
If individual bulbs compete with a face, reduce their exposure locally. The brightest area of a portrait naturally attracts attention, so the subject's face should normally be at least as visually prominent as the background lights.
How can you create bokeh when the background is too sharp?
Apply lens blur to an inverted subject mask. Use a small blur radius first and increase it gradually. Lens blur tools that use a depth map usually produce more realistic circles than basic Gaussian blur because they imitate optical defocus.
For a stronger effect, add a bokeh overlay on a separate layer. Choose an overlay with light direction, color, and circle size that match the original decorations. Set the blend mode to Screen or Lighten, lower the opacity, and mask the overlay away from faces and other important details.
Varying circle sizes help create depth. Larger, softer circles can appear close to the camera, while smaller circles usually look farther away. Repeating identical circles across the frame tends to look artificial.
How should you refine color and composition?
Use selective color controls to balance red, green, gold, and blue lights. Reduce any single color that overwhelms skin tones or clothing. A subtle vignette can direct attention toward the subject, but dark corners should not look visibly painted.
Crop distracting wall edges, cords, and partial decorations when possible. Keep important bokeh circles away from a person's eyes and mouth. Bright circles near the edge may also pull attention out of the frame, so darken or remove them with a healing tool.
How should you export the finished photo?
Export a full-resolution copy for printing and a separate sRGB JPEG for sharing online. Apply output sharpening based on the final size rather than adding strong sharpening during the main edit.
Check the finished image on a second screen before publishing. Warm lights and deep shadows can display differently across phones, tablets, and monitors.
What are the limitations of bokeh editing?
Editing cannot fully reproduce optical bokeh when the subject overlaps a detailed background. Automated masks may also struggle with curly hair, translucent fabric, glass ornaments, and strings of lights crossing the subject.
Heavy blur, oversized circles, and intense glow can make a photo resemble a digital composite. Natural Christmas bokeh retains some background structure, realistic light placement, and clean subject edges. When masking becomes unreliable, a restrained edit is usually more convincing than a dramatic replacement.
The most natural workflow is to improve real out-of-focus lights first, then use selective blur or overlays only where the original background needs help.
Which lighting and camera settings make edited Christmas bokeh photos print-ready?
For print-ready Christmas bokeh photos, use a wide aperture to blur distant lights, keep ISO as low as practical to preserve clean shadows, and expose so the brightest bulbs retain color rather than clipping to white. Place the subject well in front of the lights and add soft light from the front or side; this keeps skin tones printable while the background stays luminous. Use the slowest shutter speed that still prevents subject or camera movement, raising ISO only when necessary. During editing, avoid lifting blurred highlights until they lose texture, and check the face at normal print size rather than judging only at high zoom. A 5×7-inch print at 300 dpi requires 1500 × 2100 pixels (Vistaprint, 2026), so crop with that final output in mind.
Christmas Bokeh Editing Works Better After Dark Than at Noon
This guidance helps people whose Christmas photos contain visible point lights and depth, especially after sunset, because noon light often prevents those bulbs from registering as bright highlights. New parents can use it for portraits without placing strong overlays across a child’s face, while photographers working for clients can set expectations before a daytime session. Renters can improve photos of temporary window or tree lights without altering the space. Teachers may find it useful for after-school classroom displays, provided student privacy rules are followed. Interfaith families can apply the same technique to any appropriate seasonal light display rather than adding Christmas-specific decorations. Anyone working with a flat noon image that contains no distinct bulbs or background separation should ignore bokeh-focused editing; ordinary color, exposure, and composition corrections will look more credible.
Frequently asked questions
Can Christmas bokeh be added to any photo?
Christmas bokeh can be added with overlays or blur effects, but it looks most believable when the original scene already contains decorative lights and visible depth.
Which blur effect is best for Christmas lights?
Lens blur or depth-aware blur usually creates more realistic light circles than Gaussian blur. Gaussian blur is better suited to a subtle glow layer.
How do I stop bokeh from covering a person's face?
Create a precise subject mask and remove the blur or overlay from the face, hair, and clothing. Feather the mask slightly to prevent a cutout appearance.
Should I increase clarity on Christmas bokeh lights?
Clarity is usually better reduced on the background because high clarity creates hard edges. Apply sharpening and texture mainly to the subject.
Why do edited bokeh lights look fake?
Common causes include identical circle sizes, excessive brightness, incorrect light direction, hard mask edges, and blur spilling onto the subject.
Can I edit Christmas bokeh on a phone?
Yes, mobile photo editors with masking, selective blur, and layer or overlay controls can handle the workflow. Desktop editors generally provide more precise edge refinement.
What aperture should I use for Christmas light bokeh?
Use the widest aperture that keeps every important face sharp. For one person, start near the lens’s widest setting; for a group, stop down until the nearest and farthest eyes are in focus. Increase subject-to-light distance before adding stronger blur in editing, because natural separation gives the light circles more believable edges.
How do I keep bright Christmas lights from printing as white spots?
Lower exposure until the bulbs retain visible color, then brighten the subject with soft front or side lighting rather than lifting the entire image. In editing, reduce highlights or whites locally around the bokeh and inspect the histogram for clipped channels. A small proof print can reveal lost color that a bright screen hides.
Why do Christmas lights disappear in daytime photos?
Christmas lights disappear because daylight can be much brighter than the bulbs, reducing the contrast that makes each light appear luminous. Exposing for faces or snow may weaken them further. Editing can darken the surroundings or increase local brightness, but it cannot fully recreate natural glow when the original bulbs are barely recorded.
What time should I photograph Christmas lights for bokeh?
Photograph Christmas lights around dusk or after dark, when the bulbs are brighter relative to their surroundings. Dusk preserves some environmental detail and often makes exposure easier, while full darkness produces stronger light circles. Keep the subject separated from the lights and focus on the subject so the background bulbs blur naturally.